Jobs
To create a new job you just need to add a new .js file to src/jobs directory.
The filename of a job is used to schedule, queue and process a job throughout the system. So please use common sense when naming them.
Example
Create a new job:
touch src/jobs/catzAPI.js
Add the following to src/jobs/catzAPI.js:
// Here we use request to collect fake data from an API, but
// you can use whatever you need
import request from 'request-promise-native';

// Define our options for request
const options = {
  uri: 'https://jsonplaceholder.typicode.com/users',
  json: true,
};

// Define and export when or how often you want to the job to run. See: https://crontab.guru
export const interval = '* * * * *';

// Define and export the function to perform
export const perform = async () => {

  // Await for our request, in this care a promise, to resolve
  const response = await request(options);

  // Return an array of values. You can update many widgets from one job if you want
  return [
    {
       // Name of widget to update. Assigned on dashboard creation.
      target: 'MyCatWidget',
      data: {
        // Value to be passed to widget state
        value: response.length,
      },
    },
  ];
};
When you next start the server, the above job will run every minute and try and update the MyCatWidget widget.
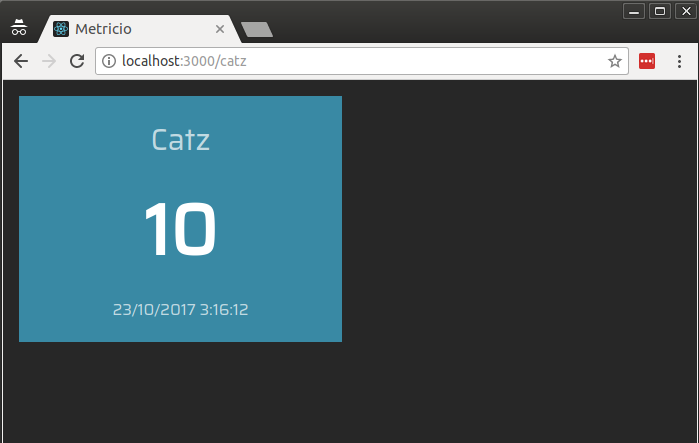
Each widget has a specific payload. The example above is a job to be consumed by the number widget. So only has a value data entry. It’s important to note that if you are using a custom widget then the whole data object is passed to the widgets state.